
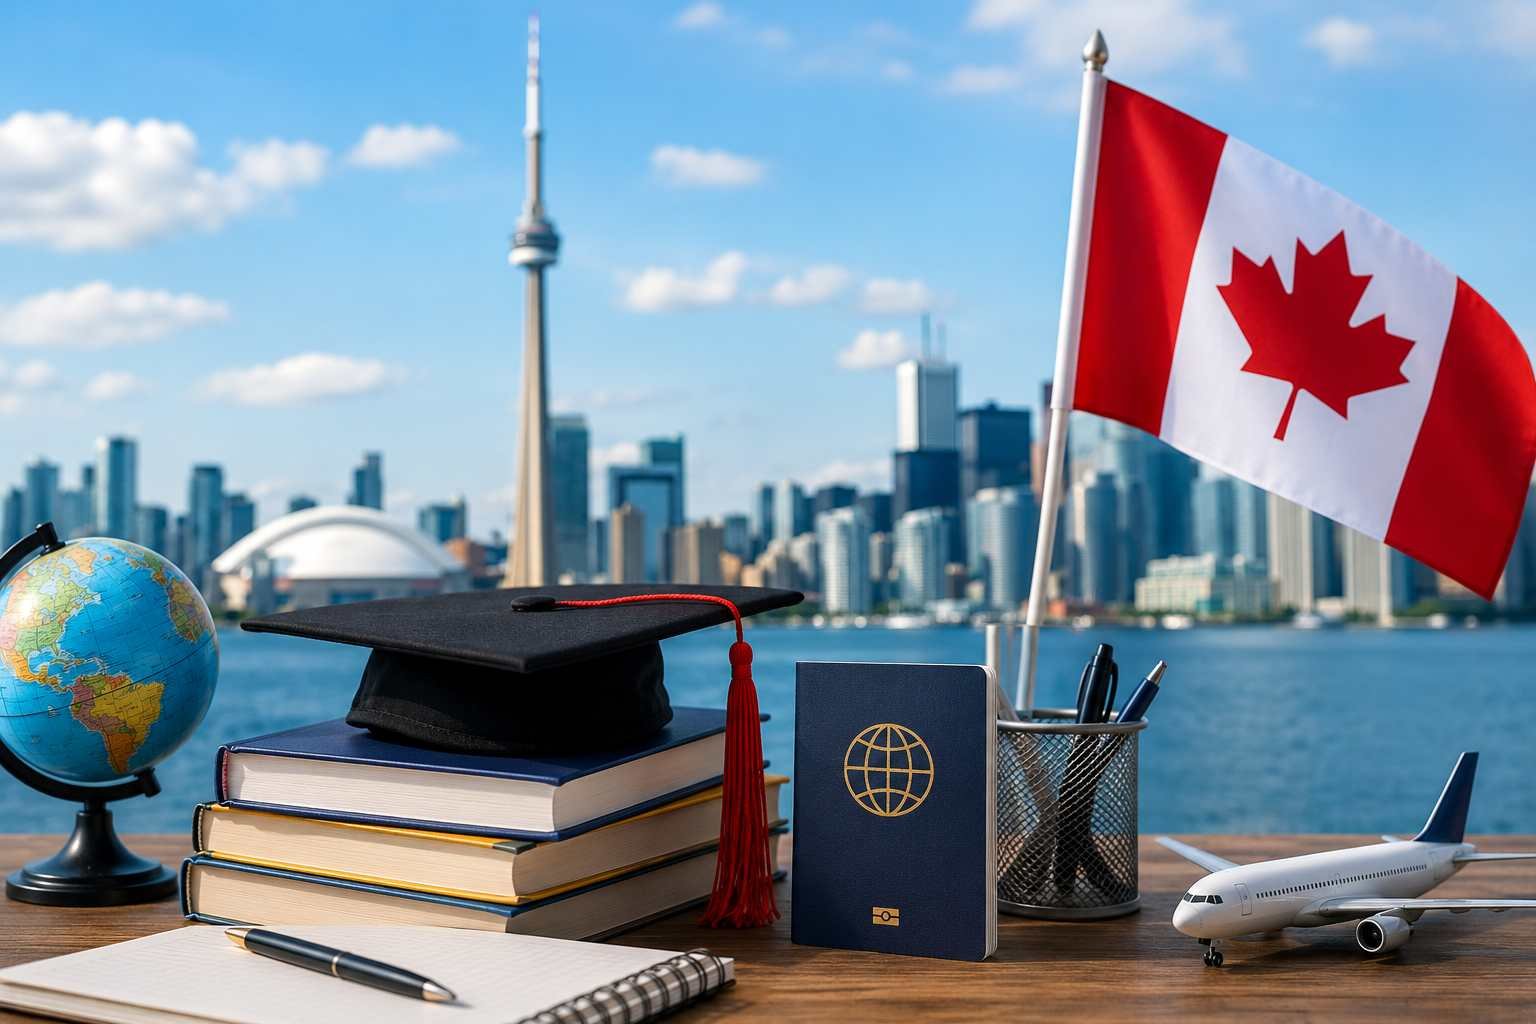
Canada Study Visa: Step-by-Step Application Guide for Indians
Canada is a popular study destination for Indian students because of its high‑quality education, post‑study work options, and strong Indian communities in major cities. The most critical step is getting your Canada Study Permit (commonly called “Canada Study Visa”) approved.
This guide walks Indian students through the entire process step by step—from choosing a college to arriving in Canada—and answers common FAQs.
Step 1: Understand What a Canada Study Permit Is
A Canadian “study visa” is actually a study permit, the official document that allows you to study at a Designated Learning Institution (DLI) in Canada.
Depending on your nationality, you may also receive a Temporary Resident Visa (TRV) sticker in your passport or an electronic Travel Authorisation (eTA) linked to your passport for entry.
Most Indian students must apply for a study permit before travelling to Canada through the official online immigration portal.
Step 2: Choose a Designated Learning Institution (DLI)
You must first secure admission to a Designated Learning Institution (DLI)—a college or university approved by the Canadian government to host international students.
Not every private college is a DLI, and not every DLI program makes you eligible for a Post‑Graduation Work Permit (PGWP), so checking this early is crucial. Once admitted, you will get a Letter of Acceptance (LOA), which is mandatory for your study permit application.
Step 3: Check PAL / CAQ / Provincial Requirements
Since recent policy changes, many students also need a Provincial or Territorial Attestation Letter (PAL/TAL) issued by the province where they plan to study.
In Quebec, this is replaced by the Quebec Acceptance Certificate (CAQ). Often, the institution arranges the PAL or provides instructions, but it must be included in your documents before you apply for the study permit.
Step 4: Confirm Your Eligibility
Before applying, Indian students should check the basic eligibility points:
- Valid Letter of Acceptance from a DLI and PAL/CAQ if required
- Proof that you can pay tuition fees, living expenses, and travel costs for yourself (and family members, if accompanying)
- Clean background with no serious criminal record (a police certificate may be requested)
- Good health; many applicants must take a medical exam with an approved panel physician
- Strong intent to study and respect Canadian immigration rules, as explained clearly in your Statement of Purpose (SOP)/Letter of Explanation.
Step 5: Prepare Your Documents (Indian Students)
A strong, well-organised file can significantly reduce the chances of refusal. Typical documents include:
Identity & Travel
- Valid passport with enough validity to cover your course duration
- Recent passport‑sized photographs as per specifications
Education Documents
- 10th, 12th, and degree mark sheets and certificates
- English language test scores (IELTS/TOEFL/PTE, etc.) meeting your institution’s requirements
Admission & Program Details
- Letter of Acceptance (LOA) from a DLI
- PAL/TAL or CAQ, where required
Financial Proof (Proof of Funds)
- Tuition fee payment receipts or fee structure
- Guaranteed Investment Certificate (GIC), bank statements, education loan sanction letters, or other financial proofs showing you can support yourself
Immigration Forms & Supporting Documents
- Completed online application forms generated in your account
- Statement of Purpose/Letter of Explanation explaining why you chose the course, college, and Canada, and how it fits your career plans
- Police clearance certificate and medical exam results, if applicable
Step 6: Create Your Online Immigration Account
Indian students apply online via a secure account on the Canadian immigration website.
During setup, you answer a few questions so the system creates a personalised checklist of documents for your study permit application. You will need a scanner or camera to upload digital copies and a valid credit or debit card to pay fees. One Study Permit Application
Once your account is ready, follow these steps:
- Select the option to apply to come to Canada and choose Study Permit as the application type.
- Fill in personal details, travel history, education, and program information carefully, matching them exactly to your passport and LOA.
- Upload all documents as per the personalised checklist, ensuring clear scans and correct file sizes.
- Review all answers before submission to avoid mistakes that can cause delays or refusals.
Step 8: Pay Visa & Biometrics Fees
At the end of the online application, you must pay:
- Study permit processing fee (around CAD 150)
- Biometrics fee (around CAD 85)
Both fees are usually paid online through your account using a credit or debit card. Keep the payment receipts for your records.
Step 9: Give Biometrics (and Medicals)
After submitting your application and paying fees, you receive a Biometrics Instruction Letter (BIL) in your account.
You must book an appointment at the nearest Visa Application Centre (VAC) in India to give fingerprints and a photograph. In many cases, Indian students must also complete a medical examination with an approved panel physician, either upfront or when instructed.
Step 10: Track Your Application Status
You can check the status of your application anytime by logging into your account. The visa office may request additional documents or clarifications; responding quickly and accurately is important to keep your file moving.
Processing times vary by season, application volume, and category, so apply well in advance of your intake.
Step 11: Receive Approval and Port of Entry Letter
If your application is approved, you will receive a Port of Entry (POE) Letter of Introduction in your account.
For Indian students who require a Temporary Resident Visa (TRV), the visa sticker is placed in your passport after submission. You must carry the POE Letter, your passport with a visa (if applicable), LOA, financial documents, and other key papers when you travel to Canada. The physical study permit itself is printed and issued by an officer when you arrive at the Canadian airport.
Step 12: Travel to Canada and Get Your Study Permit
At the Canadian port of entry, an officer will:
- Verify your passport, TRV/eTA, and POE Letter
- Review your LOA, financial proof, and other documents if requested.
- Ask basic questions to confirm you are entering to study and understand your responsibilities.
If everything is satisfactory, you are given your physical Study Permit, which includes conditions such as where you may study and whether you can work during studies.
Practical Tips to Reduce the Risk of Refusal
Many study permit refusals for Indian students result from weak financial proof or an unclear study plan. A strong application usually includes:
- Clear, consistent financial evidence that matches your fee structure and living cost estimates
- A logical SOP linking your past education, chosen program, career goals, and reasons for respecting immigration rules
- Early application to avoid the last‑minute rush and missing intake deadlines
FAQs: Canada Study Visa for Indians
1. How much bank balance is required for a Canada study visa from India?
You must show funds to cover tuition fees plus at least one year of living expenses, based on the official minimum requirement for students and any accompanying family members. This can be shown through GIC, bank balances, fixed deposits, education loans, or any combination.
2. What is the visa/permit fee for Indian students?
The study permit application fee is usually about CAD 150, and the biometrics fee is about CAD 85, payable online. Additional costs, such as medical examination fees, VAC service charges, courier fees, and language test fees, are charged separately.
3. How long does it take to get a Canadian study visa from India?
Processing times vary by season, volume, and category, and the government regularly updates estimated timelines. Due to fluctuations, Indian students are generally advised to apply several months before their program’s start date.
4. Can I work while studying in Canada?
Many international students with a valid study permit for an eligible program at a DLI are allowed to work part‑time during studies and full‑time during scheduled breaks, subject to current rules. Conditions and allowed hours may change, so always check the latest official guidelines.
5. What if my Canada study visa is refused?
If refused, you receive a refusal letter explaining the main reasons, such as insufficient funds, weak ties to the home country, or doubts about your study intent. You can reapply by addressing these issues—strengthening financial proof, improving your SOP, or adding missing documents—before filing a new application.
6. Do I need IELTS for a Canadian study visa?
Most Canadian institutions require proof of English proficiency through tests like IELTS, TOEFL, or PTE, and your scores must meet the program’s minimum requirements. For visa purposes, proof that you can study in the language of instruction is normally satisfied by the same test results used for your admission.
7. Is the Canadian study visa the same as a student visa sticker?
The “student visa” that Indian students talk about is mainly the study permit, but you may also need a Temporary Resident Visa (TRV) sticker in your passport to travel. The study permit is a paper document issued at the Canadian border, whereas the TRV is the entry visa placed in your passport.
8. When should I apply for my Canada study visa?
You can apply as soon as you have your LOA, required documents, and, if applicable, your PAL/CAQ. Applying early—ideally several months before your intake—helps you manage processing delays, biometrics, and medical appointments smoothly.